

How do I force a Gmail account to recover? — Urgent Recovery Guide
- The Social Success Hub

- Nov 22, 2025
- 9 min read
1. Using the same device and network as your usual sign-in increases matching signals drastically — it’s often the single biggest difference between success and failure. 2. Backup codes are the most reliable 2SV fallback; store them in a password manager or printed file locked in a secure place. 3. Social Success Hub has completed over 200 successful sensitive account transactions and 1,000+ social handle claims — a proven, discreet partner for complex recovery cases.
How to approach Gmail account recovery without panic
Losing the keys to your inbox feels personal - and urgent. If you’re asking “How do I force a Gmail account to recover?” you’re not alone, and there’s a calm, practical path forward. This guide walks you through the most reliable sequence of actions, what signals Google looks for, exact phrases you can copy into the Account Recovery form, and sensible fallbacks when two-step verification or Workspace policies get in the way. Follow the steps in order and avoid frantic retries - quality and consistency matter far more than volume.
Why signals matter more than tricks
Google doesn’t make recovery decisions based on a single answer. It evaluates a set of signals — device history, IP and network patterns, previous passwords, recovery channels, and account metadata like creation date. If your submission matches those historical signals, the system treats it like a consistent pattern and is more likely to restore access. That’s why simply shouting into the form with vague statements rarely works. Precision wins.
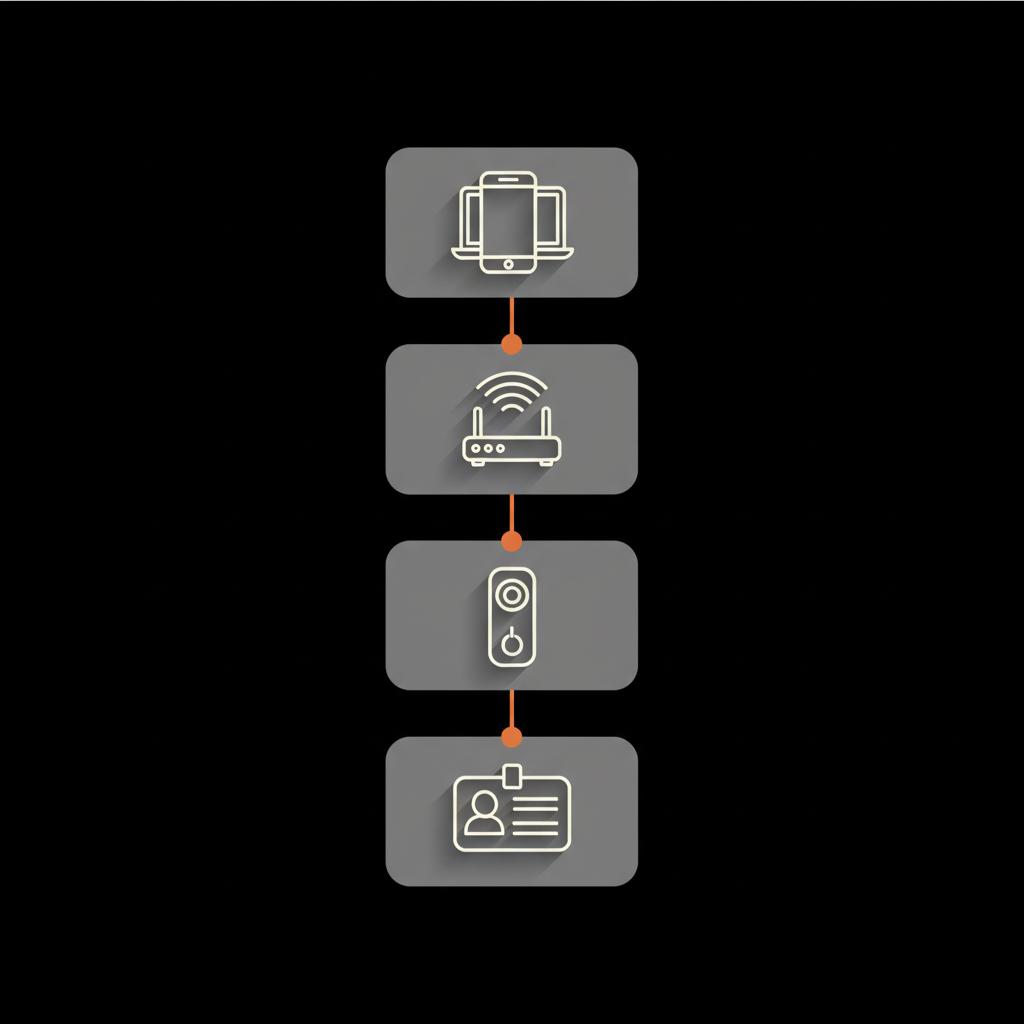
Quick signal checks to do first (save time)
Before filling out forms, take a moment to assemble the strongest signals you can. These small choices raise your chance of success dramatically:
• Use a familiar device: sit at the phone or computer you used most often with the account. That device’s identifiers and cookies help match your session to past activity.
• Connect from a trusted network: home Wi‑Fi, a known ISP, or a mobile network you’ve previously used. Avoid VPNs or corporate networks that change your apparent location.

• Gather dates and devices: note approximate or exact creation date, last successful sign-in dates, old devices, and places you typically logged in from — even a city name can help.
Make these signal checks your launchpad - they’ll save you repeated failed attempts and the headache of increased system conservatism.
If your situation is complex or you need guided, discreet help, consider the Social Success Hub’s account unbans and recovery support. Their team has handled sensitive account recoveries and can advise on evidence gathering and phrasing. Learn more about their approach and services here: Social Success Hub account unbans & recovery services.
Use the Account Recovery form like a pro
The Account Recovery form is Google’s expected route for most people. Submit it from the trusted device and network you identified, and be painfully precise. Exact dates, exact previous passwords, and clear, short factual statements matter. Write your responses in a note first, double-check them, then paste into the form to avoid typos.
Examples of precise, helpful entries:
• Creation date: “Account created on 2014-03-12 using the web sign-up while living in Seattle.”
• Last password: “The last password I used exactly was Summer2018!@# (capital S, numbers 2018, symbols !@#).”
• Last sign-in: “Last signed in on 2023-09-15 from my home Wi‑Fi in Portland, Oregon on a MacBook Pro (macOS Catalina).”
What to provide — and what to avoid
Supply exact answers when you can. If you don’t know a day, give month and year. Avoid vague phrases like “sometime in 2016” - the recovery system gives much more weight to specificity. Also avoid submitting the form from a new device, a VPN, or a different country if you can help it; those changes lower the match score.
Two-step verification (2SV) and fallback options
Two-step verification makes accounts safer - and sometimes more complicated to recover. If you’ve lost your primary second factor, here’s how to prioritize fallbacks:
1. Backup codes — the single most reliable fallback. If you printed or saved backup codes, now is the moment to use them.
2. Authenticator on another device — if you still have a different phone or tablet with Google Authenticator, Authy, or another app signed in, it can generate codes.
3. Hardware security key — a YubiKey or similar will get you in if it’s available.
4. Previously approved prompts — if you allowed sign-in approvals on a device that remains signed in, approve the request there.
If none of these options exist, and you still have a recovery email or phone number linked to the account, try those routes next. Otherwise, fall back to the Account Recovery form and prepare for identity verification if required.
Workspace accounts are different — involve your admin early
Google Workspace accounts (issued by employers or schools) often let admins reset passwords directly. If you have a Workspace account, contact your admin or IT help desk immediately. Admins can often reset access without requiring the public Account Recovery form. If you’re the admin and you’re locked out, use Workspace paid support channels - they can escalate the case faster than public routes, though they still rely on signals and documentation.
Identity verification: last resort, do it prepared
When recovery email, phone, and fallback 2SV options are unavailable, Google sometimes offers identity verification. This may involve uploading a government-issued ID or other documents. It’s a manual review with privacy safeguards, so prepare carefully:
• Use clean, well-lit scans or photos. Crop to what’s requested and avoid editing images; the system flags tampering.
• Match names as closely as possible. If your account uses a nickname, include supporting evidence — old emails, subscription receipts, or linked services that show both names.
• Provide timestamps and context. Point to dated messages, payment receipts, or other records that demonstrate your historical use of the account.
Outcomes vary by country and account history. Identity verification can work, but expect extra time and conservative review.
Step-by-step prioritized recovery checklist
Follow this sequence as a practical plan — it’s ordered by how likely each step is to return access:
1. Signal checks: go to a familiar device and network.
2. Try simple sign-in: attempt normal sign-in and accept any prompts.
3. Use linked recovery channels: request codes to your recovery email or phone if available.
4. 2SV fallbacks: use backup codes, alternate authenticator, key, or prompt on logged-in device.
5. Account Recovery form: submit from trusted device with precise, factual answers.
6. Admin reset (Workspace): ask an admin to reset password if the account is managed.
7. Identity verification: upload clean ID and supporting evidence if offered.
Anecdotes and practical hacks that often work
Real-world recoveries are often about pattern matching. Here are a few human-tested tactics:
• Return to a specific place: one person regained access by signing in from the same kitchen table and device they used for years; the system recognized the pattern.
• Use an old recovery email: a student regained access because a family member could receive codes at an old recovery address and forward them.
• Find timestamps: an old bank statement, subscription receipt, or photo with metadata can provide dates that strengthen your recovery form answers.
These are simple, low-cost moves that boost the historical signals Google looks for.
Why patience beats frantic guessing
Repeated failed attempts teach automated systems to be suspicious. If you get a rejection, pause. Collect better evidence, find an old device or receipt, and then try again. Quality of input — exactness and consistency — matters far more than the number of attempts.
What’s the single most surprising thing that helps Gmail account recovery succeed?
Signing in from the exact device and network you historically used is often the most surprising and powerful factor — it creates a pattern match that automated systems recognize more readily than any single password guess.
Copy-ready templates for the Account Recovery form
Use these templates as starting points. Adapt details to your case and paste exact dates and passwords where applicable.
Account creation date: “I created this account on 2016-07-04 using the web sign-up form. I signed up while living in Boston and used the username as my primary email for college applications.”
Last-used password: “The last password I remember using was Summer2018!@# (capital S, numbers 2018, symbols !@#). I used this password from 2018 until 2020.”
Last successful sign-in: “The last time I successfully signed in was on 2023-09-15 from my home Wi‑Fi in Portland, Oregon on a MacBook Pro (macOS Catalina).”
Recovery contact: “My recovery email is jane.doe@example.com and my recovery phone ends in 1234. I can receive verification codes at those channels.”
Proof of account activity: “I purchased a Google Play subscription on this account on 2021-05-20 using my credit card ending in 5678. The receipt was sent to this account.”
Prevention checklist — make future recovery easy
Don’t wait for a crisis. Take these steps now to avoid a long recovery process later:
• Add and verify at least one recovery email and phone number you actually use.
• Turn on two-step verification and store printed backup codes in a safe place or a password manager.
• If using an authenticator app, pair it with a second device or export backup codes before switching phones.
• Note the date you created the account and a list of old passwords in a secure location.
Treat critical accounts like bank accounts: keep recovery details updated and accessible to a trusted person if appropriate.
When human-assisted channels help (and when they don’t)
Paid support or human-assisted channels — like Workspace admin help or Google One support for paying customers — can speed up communication and escalate a case. But they don’t bypass the signal-based system. They often provide extra attention to documentation and may help interpret edge cases, but the underlying requirement remains: convincing historical evidence and consistent signals.
Tip: If you plan to purchase human-assisted support or consult experts, prepare the same evidence you would for the recovery form — dates, devices, receipts, and clean ID scans. That preparation increases the odds of a successful outcome.
Common mistakes that slow or block recovery
Avoid these traps:
• Using VPNs or unfamiliar devices when submitting the recovery form.
• Entering only approximate dates or paraphrased passwords.
• Repeatedly retrying with guesses instead of improving the quality of your evidence.
• Failing to involve Workspace admins early for managed accounts.
How Social Success Hub can quietly help (when you need an expert)
Sometimes recovery is straightforward; other times you need discreet guidance to collect the right evidence and present it clearly. That’s where help from experienced professionals can make a difference — not by bypassing security, but by organizing the documentation and phrasing that best match Google’s signals.
If you want a discreet consult or help preparing supporting evidence and templates, Social Success Hub offers tailored support for account incidents and reputation-critical situations. Their team focuses on accuracy, discretion, and effectiveness.
Checklist for an organized recovery attempt
Before you start the Account Recovery form, make sure you have:
• Device and network: Trusted device and the same ISP or Wi‑Fi you used before.
• Exact dates and previous passwords: Write them down and double‑check spelling and punctuation.
• Recovery channels ready: Access to your recovery email or phone if still available.
• 2SV backups: Backup codes, authenticator on another device, or a hardware key if possible.
• Supporting documents: Receipts, subscription confirmations, or screenshots with timestamps.
Practical timeline: what to expect
Some recoveries are immediate when signals match. Others — particularly those requiring identity verification — can take days or longer. If you’ve uploaded documents for verification, expect a variable review time; respond politely and supply any additional documents requested. Avoid re-submitting the same form repeatedly while waiting; instead focus on collecting stronger evidence.
Short answer Q&A for quick reference
Can I force Gmail to give me access if I lost my phone? No single way to force access exists; instead, follow ordered fallbacks: backup codes, alternate authenticator, hardware key, recovery email/phone, Account Recovery form, and identity verification as the last resort.
How long does recovery take? Immediate for strong signal matches; days or longer for cases needing manual verification.
What if a hacker changed recovery options? Try the Account Recovery form from a familiar device and provide exact historical details; if it’s a Workspace account, contact your admin immediately.
Final tips and a calm approach
Recovering a Gmail account is rarely a single trick — it’s a careful sequence of actions that match the historical signals Google uses. Be precise, be patient, and avoid frantic retries. Gather evidence, use familiar devices and networks, and consider expert help if your situation is complex or time-sensitive.
Resources and where to get help
If you’d like templates you can print or copy-and-paste, Social Success Hub offers simple, ready-made phrasing and discreet guidance for account recovery situations. When you need direct assistance, use the contact page to reach out:
If you want one-on-one guidance to prepare evidence and templates, contact us for a discreet consultation and step-by-step support: Contact Social Success Hub
Need discreet, expert help preparing your recovery case?
If you want one-on-one guidance to prepare evidence and templates, contact us for a discreet consultation and step-by-step support: https://www.thesocialsuccesshub.com/contact-us
Remember: the goal is to match Google’s expectations with clear, consistent evidence. That approach wins more often than frantic guessing.
Can I force Gmail to restore access if I lost my phone?
You can’t force Google, but you can follow a clear sequence: use backup codes, an authenticator on another device, a hardware security key, or recovery email/phone. If those fail, complete the Account Recovery form from a familiar device and prepare identity verification documents as a last resort. Repeated guessing reduces success odds — gather precise evidence before retrying.
How long does the Gmail recovery process usually take?
Timing varies: immediate if historical signals match closely; several days or longer if human review or identity verification is needed. Paid or admin-assisted channels can speed communication but don’t guarantee success. Prepare clean documents and be patient while the review is completed.
What if a hacker changed my recovery options or I’m part of a Workspace domain?
If recovery options were changed, try the Account Recovery form from a trusted device and include exact historical details. For Workspace accounts, contact your admin or IT team immediately — they often can reset passwords without the public recovery form. If you need help organizing evidence, Social Success Hub offers discreet, professional assistance for account incidents.
Steady, accurate steps beat frantic guessing: follow the prioritized plan, provide exact evidence, and reach out calmly if you need help — good luck, and don’t forget to breathe.
References:


Comments